The Prompt Studio is where you can manage the audio prompts played to your callers. This includes all menus, introductions and outgoing messages. In order to present a professional image, we recommend that you record these - using someone with a good voice.
Services: dmConnect12, dmSwitchboard12
It can be found on the General tab of the Service Control.
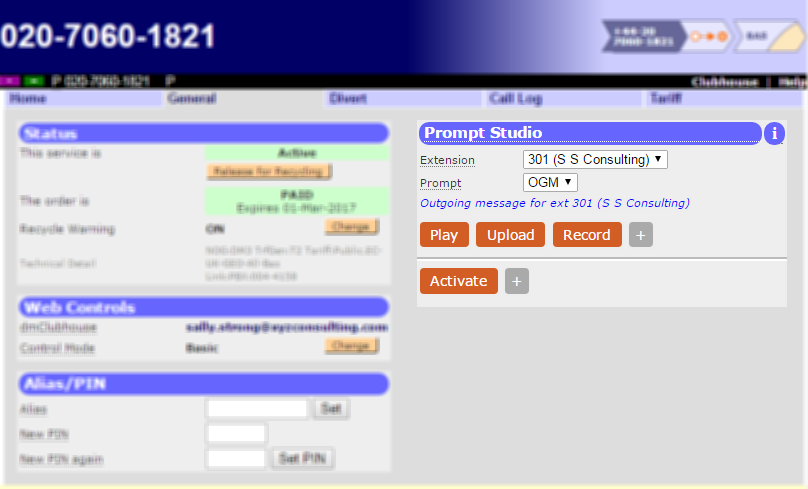
Using the Prompt Studio
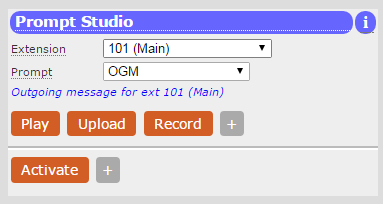
Here are two examples, typical of the way in which the Prompt Studio is used
dmConnect 12 - setting OGM
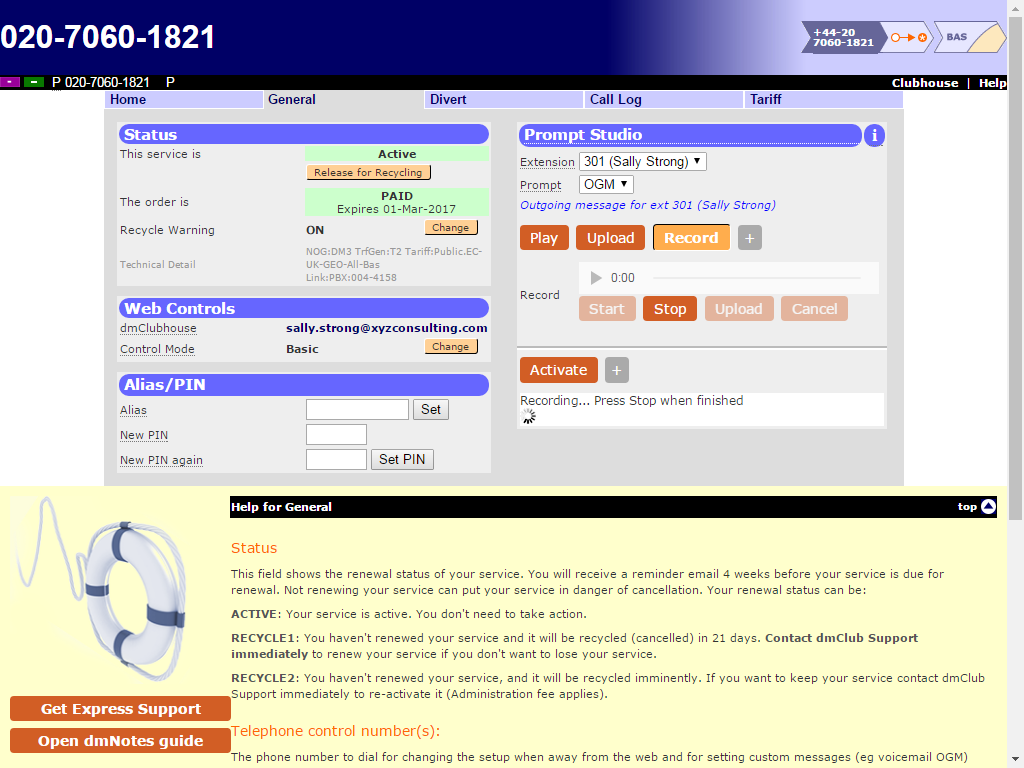
As dmConnect12 doesn't normally have any menus or announcements, the most common use of Prompt Studio is to set the Outgoing Message of the voicemail feature. This will be on extension 301.
Extension: 301 (<your name>)
Prompt: OGM
Press [Play] to hear the current message (if there is one).
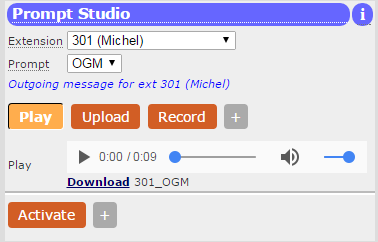
You then have 2 options:
A) Uploading a .WAV file you prepared earlier (or maybe you downloaded it from another service)
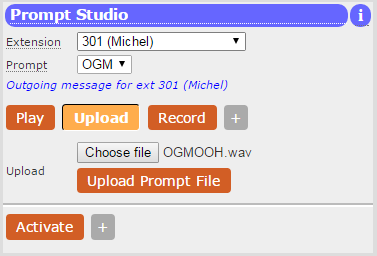
- Press...
- [Upload] to select the file uploader
- [Choose file] and then select the .wav file using the file selector
- When it appears, press [Upload Prompt File]
- You can listen to it by pressing [Play] and then

- If you want that to go live, press [Activate]
B) Recording in the Browser
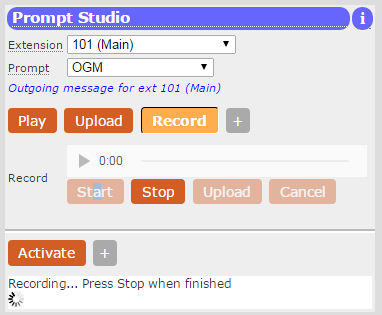
Press...
- [Record] to select the recorder
- [Start] to begin the recording
- Speak the new OGM
- [Stop] to stop the recording.
- You can press
 to see how it is. If you felt it didn't go so well, Press [Start] and repeat, otherwise press [Save] or [Upload].
 - If you want that to go live, press [Activate]
Video of this in action
PLAY
dmVoice - setting OGM
This is just the same as dmConnect, but you need to select Prompt = Voicemail OGM
dmSwitchboard12 - setting announcements (including OGM)
Note - The Prompt Studio will only let you upload/record prompts that are referenced in the currently active plan. So if you want an introduction prompt, you must make sure that your plan has an introduction prompt with some text script in it.
Getting the Prompt Manifest
With dmSwitchboard12, there can be quite a few prompts, so it can be useful to get a list of things to record. This is what we call the "Prompt Manifest".
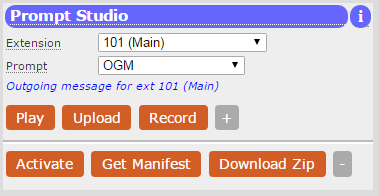
Get this by pressing the [+] next to the Activate button then [Get Manifest]
The Prompt Manifest looks a bit like this:
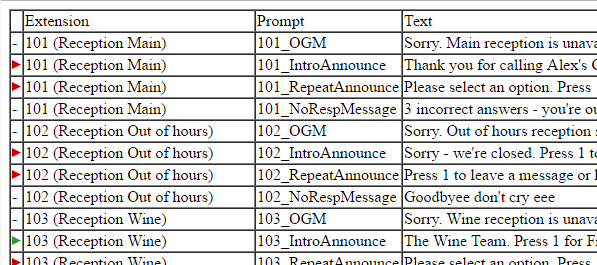
The Play buttons are shown where there's something to play - the Red ones are "Robot" recordings, and Green ones are uploaded recordings (or recordings made using the telephone-based Prompt Recording Studio). You can click the Play buttons to listen.
Doing the recordings
Armed with a copy of the Prompt Manifest, you can quickly go through all the extensions and all the prompts within the extensions (including OGMs) and upload files or record new versions as with the dmConnect12 instructions.
Saving your work
It's a good idea to Download a Zip of your recordings once you've uploaded them all - for the record and in case you lose the account (eg. forget to pay for it and it's recycled - although (tip) much better to setup AutoPay instead!!!). You can get this by pressing [Download Zip]
Going Live
Once all your prompts have been recorded, you must reactivate the switchboard plan to make them take effect. You could do this in the plan manager, but much easier to press [Activate]
TIP: Once the activation has completed, do call into your number to check that all is well
Video of dmSwitchboard12 use
FAQs
Q: What happens when I change my plan?
A: If it's a minor change, such as a change of divert destination, or changing the voicemail timeout, then no changes are necessary. Obviously if (on dmSwitchboard12) you decide that extension 301 is now Fred Smith, then you might need to re-record OGM and any announcements. A major change of reception options, teams and staff will likely mean re-recording most of the prompts.
Q: What if I don't like my recording after I've uploaded it?
A: Unfortunately you can't roll back to a previously uploaded version (unless you'd had the sense to download and store the Zip) but you can revert to the "Robot" voice that our system generated from the script in your plan. You can do this on a prompt-by-prompt basis by pressing the [+] next to Record and then the [Revert] button.
Q: Can I do this on an iPad/iPhone?
A: Not yet, as neither of these devices allow html5 access to the microphone.